A Carving Masterclass at the Wilderness Survival School

After several months of being locked down (again!) and unable to get out on a camping trip, the sense of excitement ahead of my next adventure was palpable. And it was with good reason that I was so excited because this wasn’t going to be any old camp. I was heading off on a carving masterclass at the Wilderness Survival School so that I could learn from the bushcraft and crafting maestro that is Joe O’Leary.

I don’t think I’ve spent so much time preparing my kit, packing and then re-packing. Sad though it may seem, there is a part of me that rather enjoys the preparation that goes into my camping adventures. So for this trip, I loaded up my backpack with everything that I’d need for three glorious Spring days in the woods and then I headed into the shed so that I could ensure all my carving tools were nice and sharp for the course.

Now I don’t especially think you want to read a blow by blow account of this wonderful course and all the intricate stages that we followed on the carving projects. Instead I thought I’d treat this as an opportunity to give an insight into what was my first ever bushcraft course and document the lessons that I learnt along the way. Hopefully the pictures will also help to fill in some of the fine detail that I miss.
The vast private woodland that Joe uses for his Wilderness Survival School is nothing short of stunning and clearly very well managed. Bluebells and Wood Anemone’s blanketed the ground, while a diverse array of trees reached for the sky. Before the course kicked off, Joe allowed us some time to set-up our camp for the next few days. I packed for comfort on this trip as I had the tarp and a tent packed in the rucksack along with all my winter sleeping kit. In typical spring fashion, the temperature was forecast to plummet just as soon as the sun had set, you’ve gotta love the ‘in-betweeny’ seasons!


With everyone settled in, introduced and fully caffeinated (courtesy of the biggest kettle that I think I’ve ever seen hanging over a fire), Joe kicked off proceedings and set out his plans for the course.
There was four of us on the course; Tom and Jill were relative beginners while the other student turned out to be my ol’ camping buddy – Des. The cheeky rascal didn’t tell me that he was coming on this course so it was certainly a surprise to see him!! Des and I have dabbled in a spot of Whittling and carved many a spoon around a campfire, but we both came into this course with an open mind. I for one knew that I had much to learn when it comes to crafting a more refined and ergonomic spoon.

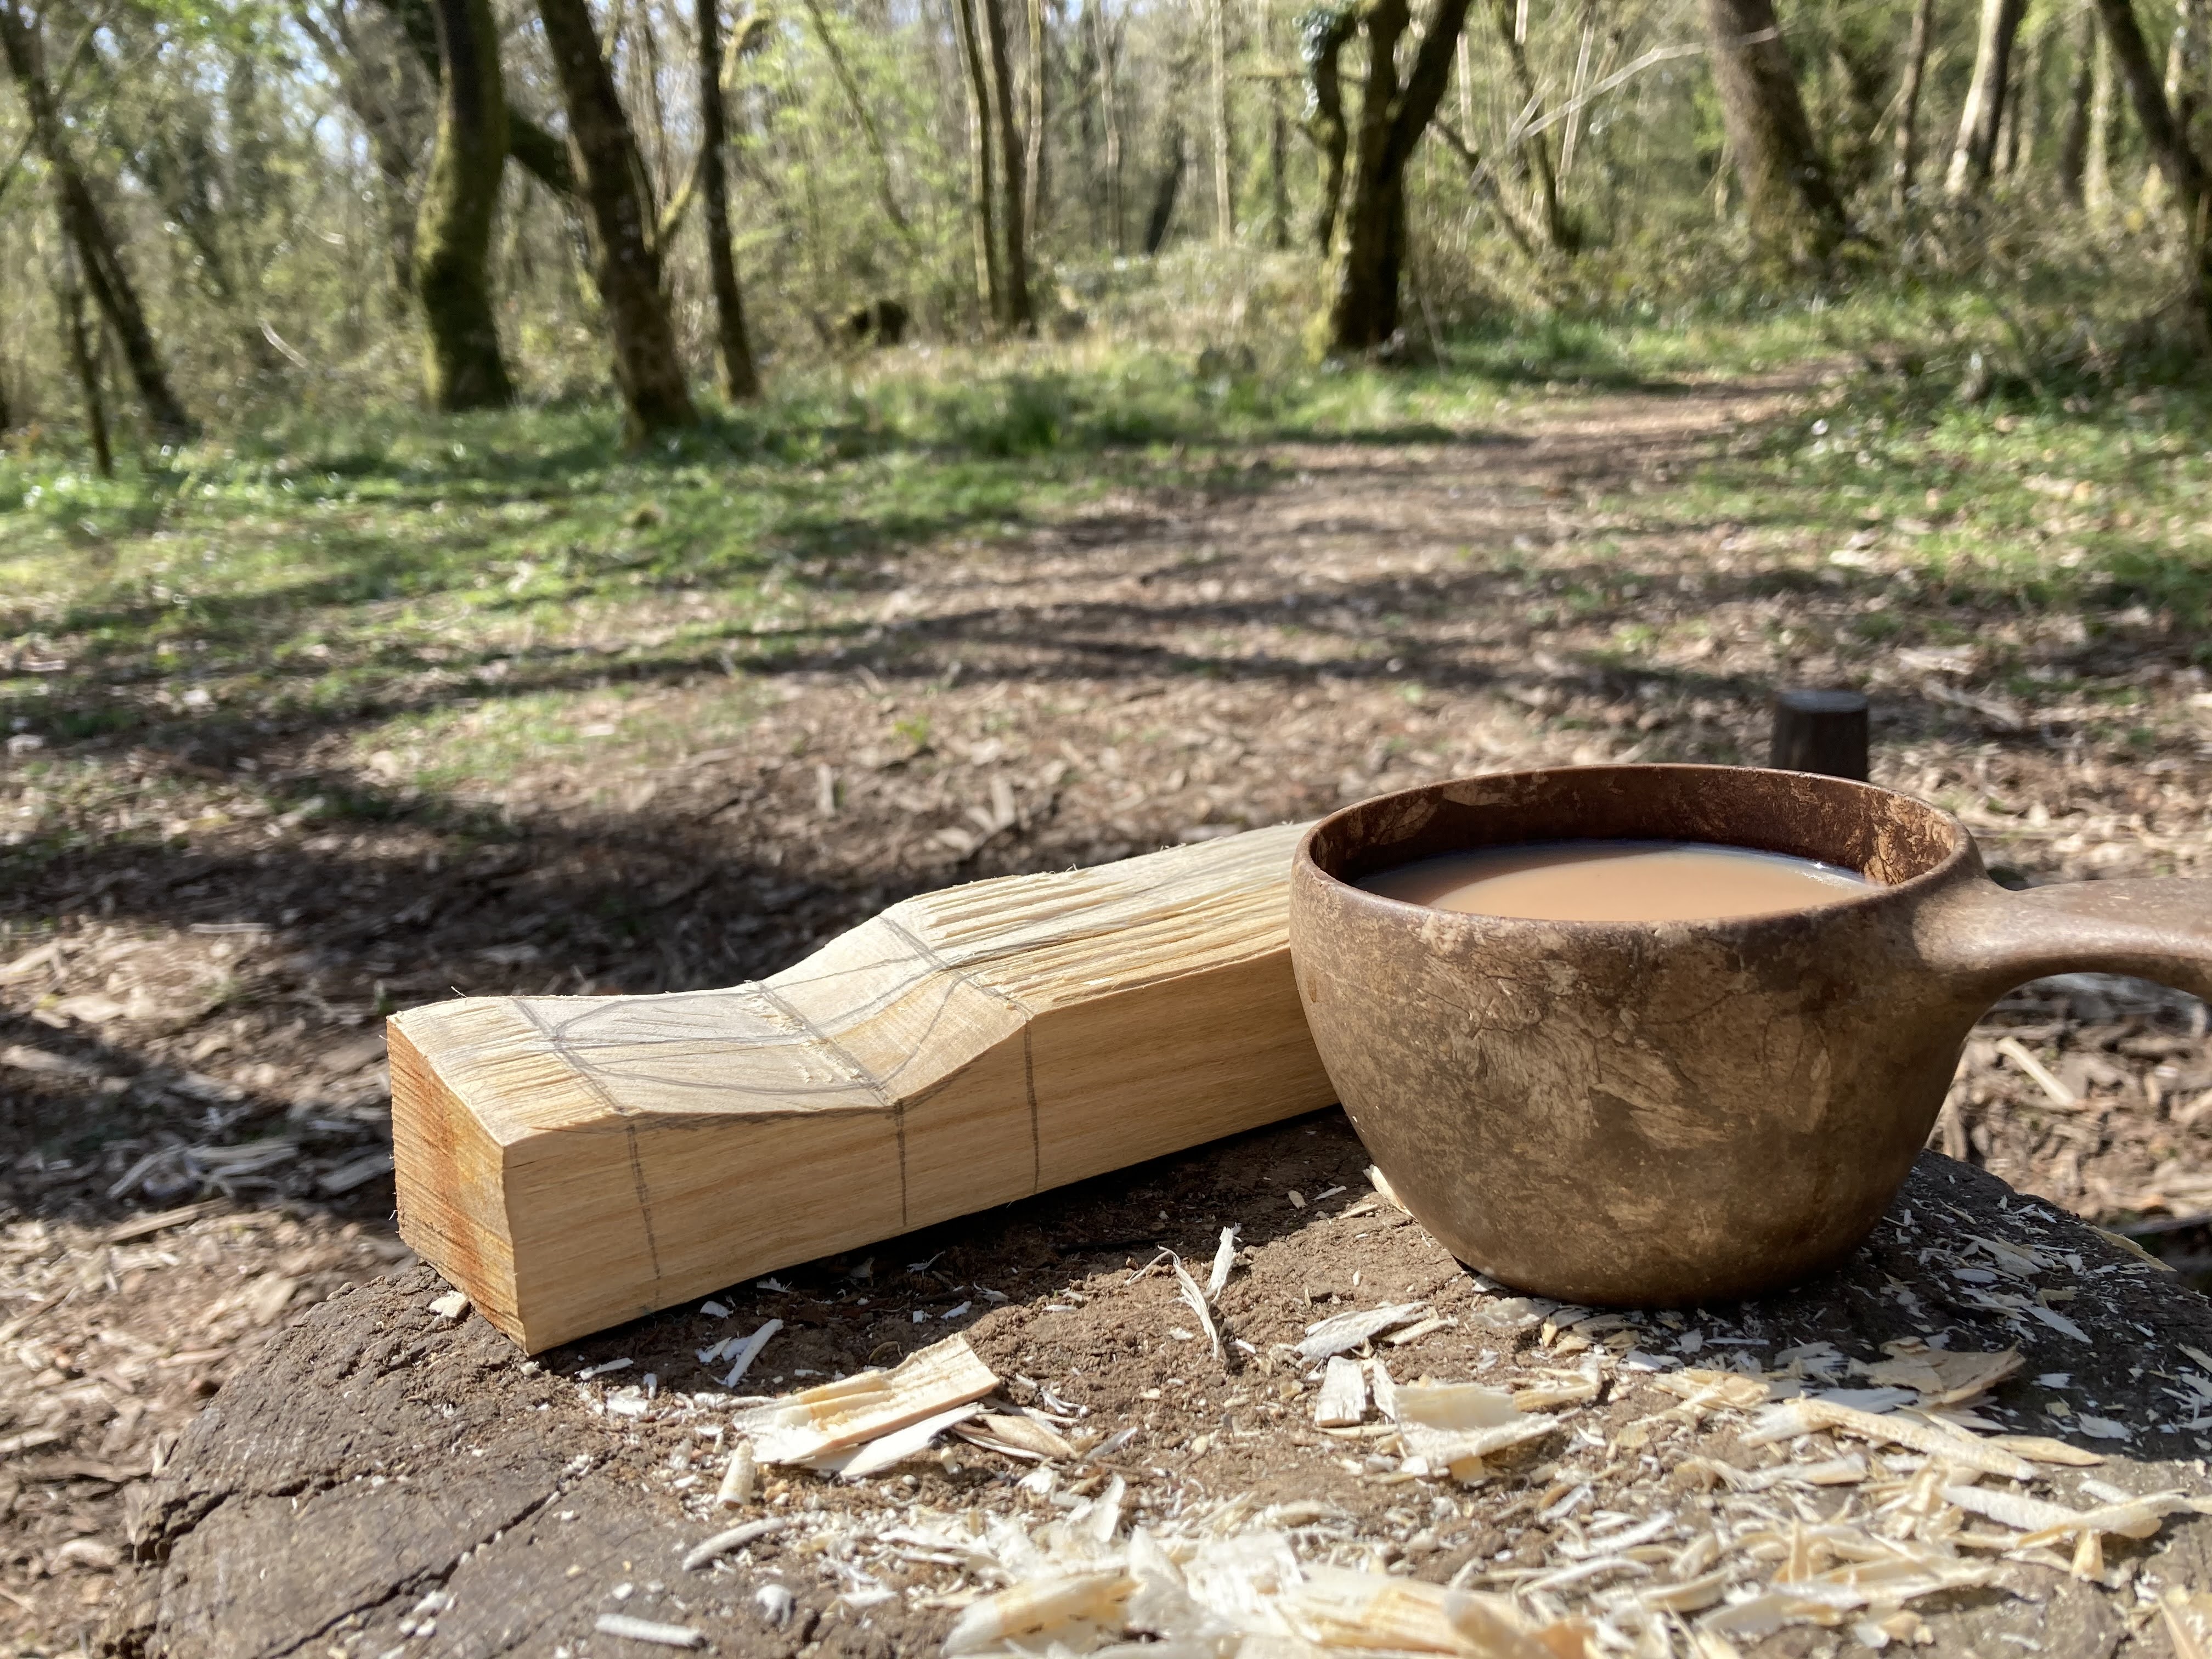
After harvesting some hazel for our projects, Joe introduced our first task. I chose to make a spatula while the others opted to make butter spreaders. Straight from the get-go my eyes were opened as Joe guided us through his simple step-by-step process.
Lessons learnt:
- While processing the work piece I discovered that the timber had a few knotty sections that would interrupt the design of my spatula. Normally I’d discard this piece and use something else. However, by carefully marking out the spatula, Joe showed me how I can easily work around those natural defects and make the most of the material available. Sometimes you've got to think outside of the box!
- Focus on one dimension (or to coin the proper woodworking phrase: plane) at a time, ensuring that we strive keep each plane square(ish!) to the opposing face. The rationale here is that you will make the finishing process much easier if you put the effort into ensuring the early phases of ‘roughing out’ the shape are kept nice and neat and square. Later on in the course I’d learn how this fundamental principal carries across to other carving projects.


That brought day one to a close and we all headed back to our camps to get some dinner cooked. This event was self-catered so I ensured that I brought along plenty of food. For my first night, I made myself some bangers and mash with peas. I cooked all this on my trangia stove, it was lovely, but I did make a small faux pas as I’d forgot to pack some gravy granules – what an amateur!

We all spent a lovely evening chatting around the communal fire and listening out for the hoot of the Tawny Owls before tucking in for an early night – it had been a long day! It was certainly a cold night though and I was very glad that I’d brought along my winter sleeping bag.

I was awoken by the sound of the dawn chorus – natures alarm clock! The Chiff Chaff’s were chiff-chaffing, the Great Tits were sounding like a rusty old bicycle pump and every now and again I’d hear the distinctive bark of a Raven – what a treat.
I couldn’t enjoy it for too long though as mother nature was calling in more ways than one and I had to toddle off for my morning ablutions! Now I know it’s crass to talk about these things, but I think that the Wilderness Survival School toilet deserves a very special mention. Sitting upon the throne, going about one’s business while looking out at nature with the dawn chorus providing a soundtrack and the sky turning a million shades of red as the sun pops its head above the horizon. It was absolute perfection, enough even to make me pop my head up from my instagram feed and take notice! I’d almost consider it a spiritual experience, but I can assure you that memory will stay with me for a very long time. Regrettably I didn’t capture that moment on camera (😳!!), but did take a walk down to the field afterwards (with a skip in my step!) to see the sun rise. Today was going to be a good day!

Sausage and eggs for breakfast, washed down with several cups of tea!

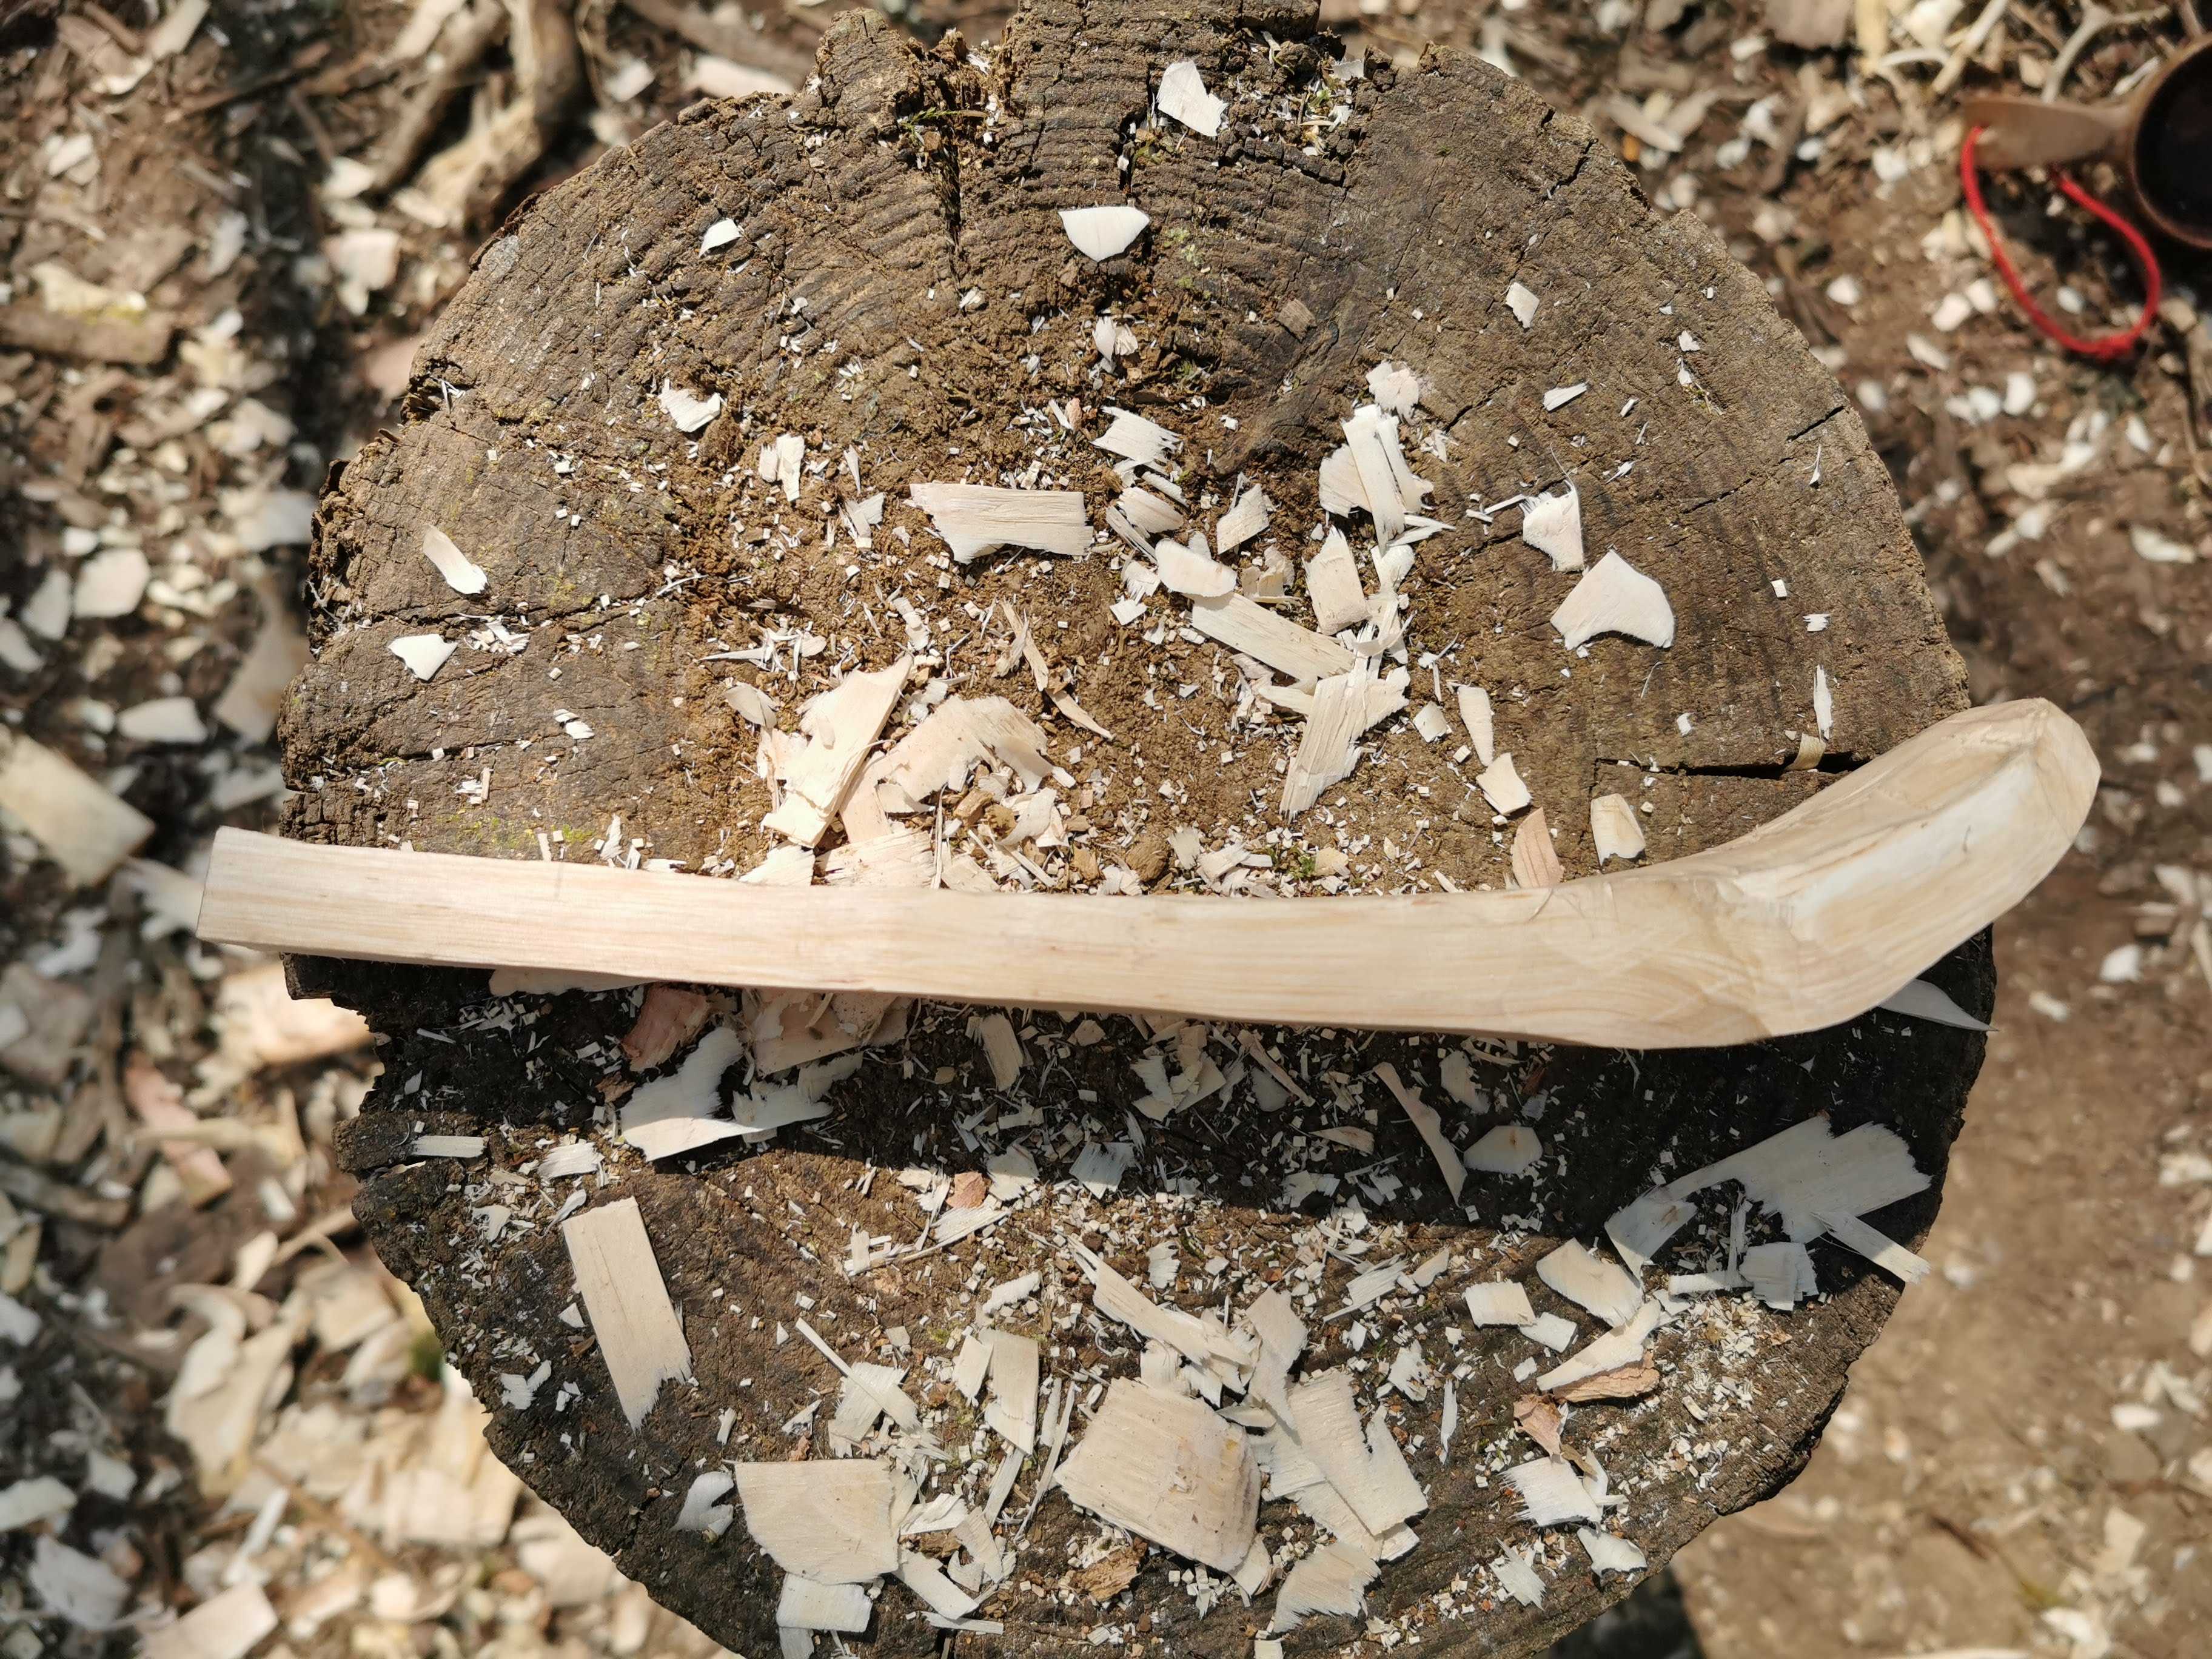
Day two on the course was about one thing and one thing only….Spoons.
With Joe’s expert guidance we were going to use the skills that we picked up yesterday and step things up a notch by carving a lovely spoon and I won't lie, I really wanted to make this a good's. We learnt how to use the axe to remove the large majority of the waste material as well as carve a curved crank into the spoon (that’s what us ‘spooners’ call the curvy bit on the neck of the spoon!). And then when we swapped the axe for the knife, Joe guided us through the process of refining the shape of the spoon, hollowing out the bowl and finishing it off. Once again this proved to be an enlightening experience for me.


Lessons learnt:
- Think about how you want the spoon to look before splitting down the timber. A radial split through the wood grain will produce a spoon with greater strength and integrity. However a Tangental split in line with the grain will enable you to produce a more aesthetic spoon with those lovely rings that appear in the bowl.
- Try to draw an egg shape when marking out the bowl of your spoon. I've often struggled to get the right shape for my spoon, they always end up being a bit more shovel shaped!
- When cutting in the curved crank, it doesn't need to be too steep. A 5mm depression works well but ultimately depends on the style of spoon that your carving.
- It’s so important to concentrate on one plane at a time, ensuring that every stage is done as neatly as possible before moving onto the next phase.
- Be confident with the axe! Using the axe during the ‘roughing out’ phase is really effective when you slow everything down and use short strokes of the axe to maintain control. When I watched Joe rough out his spoon I noted how he’d barely lift or swing the axe an inch above his work piece.
- Respect the shoulders of the spoon, this area is the most fragile element when carving. A mistake here may result in the spoon becoming an elaborate piece of kindling!
- Always carve downhill. This is safer and also helps you maintain control over the knife. If you ever experience friction in the grain then stop and approach the cut from a different angle.
- When hollowing out the bowl, it really helps to mark out the bowl/area. This helps to produce a neat finish to the bowl. Cut from the edge of the bowl into the middle, change direction/angle of cut if you meet resistance with the wood grain. Finish off with fine shavings to remove any lumps and ridges from your earlier cuts.
- Keep those tools nice and sharp, especially for the finishing cuts. The finishing cuts in particular need to be really fine, smoothing out any lumps and bumps. Get this right and the sandpaper can be made redundant!


A group shot of my work, I also managed to carve a nice little butter spreader with an off-cut from my Cherry spoon


Wow this was a long blog, many thanks to all of you for reading, feel free to drop me a comment and let me know what you think.
And if you're interested then why not check out all the courses that Joe has to offer by clicking on his website:
https://wilderness-survival.co.uk/home


Nice one Barney! A fantastic and descriptive summary of the carving master class. Top marks :-)
ReplyDeleteGreat looking spoonage too - loving the hazel cooking spoon!
Brilliant mate.
ReplyDeleteI do enjoy the blogs , it was a really enjoyable course and learnt loads .
Cheers mate